

Introduction
How to connect Alexa to Wi-Fi? In today’s smart home era, Alexa-enabled devices have become the hub of convenience, control, and connectivity. From playing music and answering questions to managing your smart lights or thermostat, Alexa relies on a stable Wi-Fi connection to function seamlessly.
Without Wi-Fi, Alexa cannot access the cloud-based services that power its voice responses, automation routines, and smart device integrations. Whether you’re setting up Alexa for the first time or reconnecting it after a move or Wi-Fi change, the process is quick and user-friendly with the Amazon Alexa app.
This guide walks you through everything you need, from the initial plug-in to troubleshooting common issues, so you can get Alexa online and working in just a few minutes. Let’s explore how to connect Alexa to Wi-Fi and make the most of your voice assistant.
| Topic | Key Point |
| How to Connect Alexa to Wi-Fi? | Alexa needs Wi-Fi for voice commands and smart functions. |
| Setup Steps | Plug in → Alexa App → Add Device → Connect to Wi-Fi. |
| Wi-Fi Requirement | Essential for cloud services, music, and smart control. |
| What You Need | Alexa device, app, Amazon account, Wi-Fi name & password. |
| Change Wi-Fi | Use the Alexa app to reconnect after moving or a Wi-Fi change. |
| Troubleshooting | Check the password, restart the router, and reset Alexa if needed. |
| Connection Tips | Place it centrally, avoid interference, and reboot the router often. |
How to Connect Alexa to Wi-Fi?
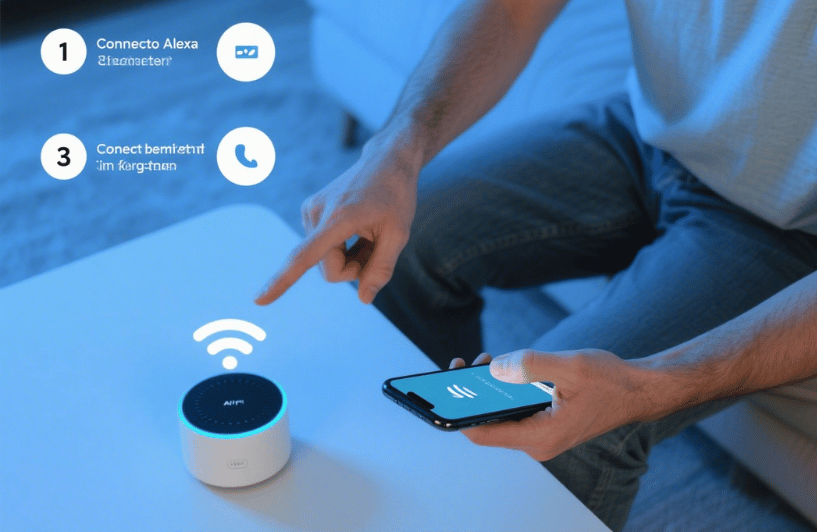
How to connect Alexa to Wi-Fi? Connecting Alexa to Wi-Fi is a simple yet essential step to get your smart assistant up and running. First, plug in your Echo device to a power outlet and wait for the light ring to turn orange, signaling that it’s in setup mode. If it doesn’t, press and hold the action button (a dot) for about 15 seconds until the light changes.
Inside the app, tap the “Devices” icon at the bottom right, then hit the “+” icon in the top right corner and choose “Add Device.” Select “Amazon Echo” and then pick your specific Echo model (e.g., Echo Dot, Echo Show). Follow the on-screen prompts. When instructed, connect your smartphone to Alexa’s temporary setup network (usually named something like “Amazon-XXX”).
Once connected, the app will scan for nearby Wi-Fi networks. Choose your home network from the list, enter the password, and tap “Connect.” After a few moments, Alexa will announce that it’s online, and the light ring will turn blue and then fade, confirming that the setup is complete.
Why Alexa Needs Wi-Fi
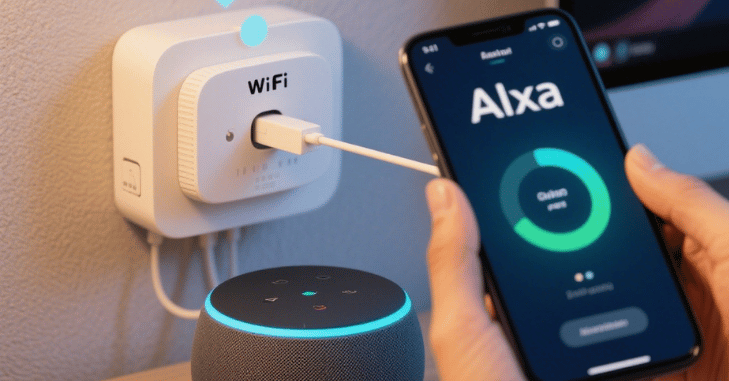
Alexa relies on the internet to access cloud-based services that power its voice recognition, music streaming, smart device control, and more. Without Wi-Fi, Alexa won’t be able to respond to commands, answer questions, or interact with other smart devices in your home.
What You’ll Need
Before you begin, make sure you have:
- A compatible Amazon Alexa device (e.g., Echo Dot, Echo Show)
- A smartphone or tablet with the Amazon Alexa app installed
- An Amazon account (sign in or create one)
- Your Wi-Fi network name (SSID) and password
- A working internet connection
How to Connect Alexa to Wi-Fi (First-Time Setup)
| Step | Action | Details |
| Step 1 | Plug in Your Alexa Device | Connect your Echo to a power outlet. Look for a spinning orange light to indicate setup mode. If the light isn’t orange, press and hold the action button (a dot) for 15 seconds until it turns orange. |
| Step 2 | Open the Amazon Alexa App | Download and open the Alexa app on your Android or iOS device. Sign in with your Amazon account. |
| Step 3 | Add a New Device | 1. Tap the Devices icon. 2. Tap the + icon. 3. Select Add Device. 4. Choose Amazon Echo and then your device model. 5. Follow on-screen instructions. |
| Step 4 | Connect to Alexa’s Internal Wi-Fi | Connect your phone to the temporary Wi-Fi network broadcast by the Echo device (e.g., “Amazon-XXX”). The app may prompt this automatically, or you can do it manually in phone settings. |
| Step 5 | Choose Your Wi-Fi Network | 1. The Alexa app scans for networks. 2. Select your home Wi-Fi. 3. Enter the Wi-Fi password. 4. Tap Connect. |
| Step 6 | Finalizing Setup | Alexa will confirm the setup is complete. The light ring will turn blue and then turn off. Your device is now ready to use. |
How to Change Wi-Fi on Alexa (If You’re Switching Networks)?
If you’ve recently changed your home Wi-Fi network or moved to a new location, reconnecting your Alexa device to the new network is simple. Start by opening the Alexa app on your smartphone or tablet. Navigate to the Devices tab, select Echo & Alexa, and choose the specific device you want to update.
Next, tap on Device Settings, scroll down, and select Wi-Fi Network or tap Change next to the current network name. Alexa will then prompt you to enter setup mode; follow the on-screen instructions, which usually involve pressing and holding the action button on your Echo device until the light ring turns orange.
Once in setup mode, you can reconnect to your new Wi-Fi by selecting the network from the list that appears and entering the correct password. This process will ensure your Alexa device is back online and ready to assist you.

Troubleshooting Alexa Wi-Fi Connection Issues
1. Alexa Not Connecting to Wi-Fi
- Double-check the Wi-Fi password.
- Restart your modem/router.
- Move Alexa closer to your router.
2. Wi-Fi Network Not Showing
- Ensure your router broadcasts the SSID.
- Turn Wi-Fi off and back on from your phone.
3. Device Stuck on Orange Light
- Reset the device by holding the action button for 15 seconds.
- Try a different Wi-Fi band (2.4 GHz often has better range than 5 GHz).
4. Frequent Disconnections
- Limit interference from other electronics.
- Update your Alexa device firmware and router software.
Tips for a Stronger Alexa Connection
- Place Alexa centrally in your home for better signal coverage.
- Avoid placing Alexa near microwaves, metal objects, or thick walls.
- Use a Wi-Fi mesh system if you have a large home.
- Reboot your router monthly to maintain performance.
- Name your devices clearly if you’re managing multiple Alexa units.

Improving Alexa Wi-Fi Connection Stability
To maintain a reliable connection between Amazon Echo and your home network, it is important to ensure your Wi-Fi setup is optimized for smart devices. A stable connection depends not only on correct setup but also on consistent signal strength and network performance. Using a dual-band router and prioritizing the 2.4 GHz band can help improve range and reduce dropouts, especially in larger homes. Additionally, keeping your router firmware updated and limiting the number of heavily connected devices can prevent network congestion, ensuring Alexa responds quickly and accurately to voice commands without delays or interruptions.
Conclusion
How to connect Alexa to Wi-Fi? Connecting Alexa to Wi-Fi is a quick and straightforward process, especially with the help of the Alexa app. Whether you’re setting up a brand-new device or reconnecting after a network change, following the right steps ensures a seamless experience.
Once connected, Alexa opens the door to endless smart home possibilities, from controlling your lights and playing your favorite music to setting reminders and getting the latest weather updates, all with a simple voice command.
Want to know about “Top Benefits of Using AI SOAP Notes in Modern Healthcare Settings” Check out our “Tech” category.
FAQs
Open the Alexa app, select Devices, pick your Echo device, and then click “Change” next to “Wi-Fi Network” to link Alexa to your new router. Enter the password and choose your new Wi-Fi network by following the on-screen directions.
Alexa can be used in two ways without Wi-Fi: Use a mobile hotspot. Use Bluetooth to connect to Alexa.
When the microphone on/off button is pressed, a solid red light appears. This indicates that Alexa is not listening and that the device’s microphone is unplugged.
Yes, using Alexa with an Amazon account is free. The fundamental Alexa voice assistant features are available without any monthly or membership costs.