
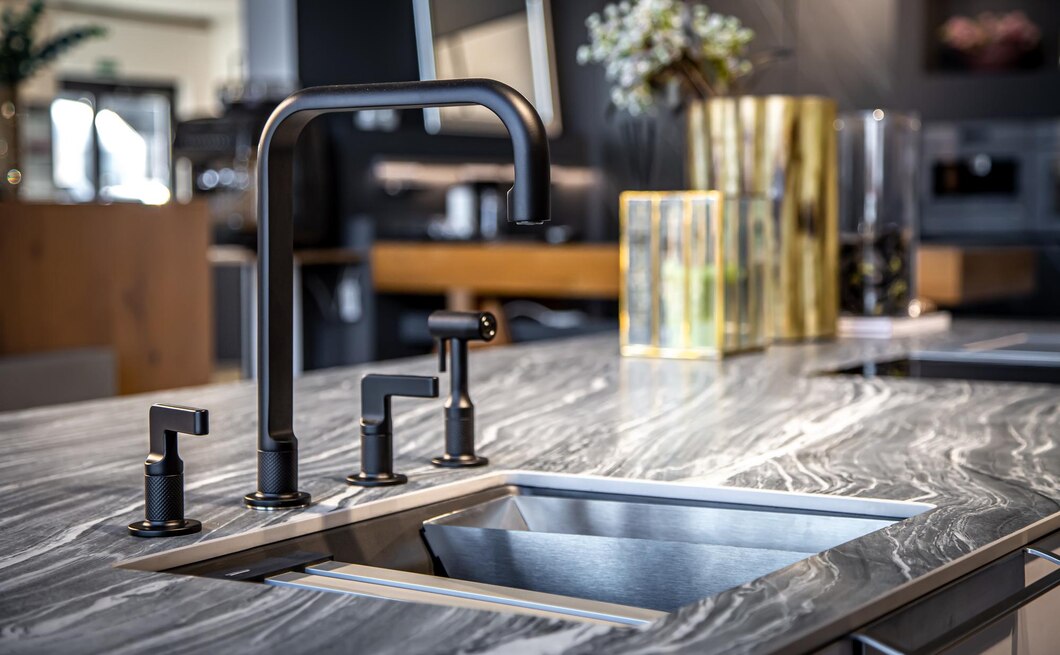

A faucet may look simply to replace, but in reality, faucet installation can be tricky and costly if done incorrectly. While many online guides explain how to install a faucet, I don’t recommend attempting it yourself unless you have plumbing experience. One wrong step—like overtightening connections or damaging supply lines—can lead to leaks, water damage, and extra repair bills. In most cases, it’s safer and more cost-effective to rely on a professional, especially for bathroom faucet installation, installing a kitchen faucet, or full faucet replacement.
DIY Faucet Installation: Can You Do It Yourself?
For homeowners who enjoy tackling projects, DIY faucet installation is very doable with basic tools and a little patience. It’s one of the more approachable plumbing tasks, making it a popular choice for DIY enthusiasts.
Before you start, you’ll need:
- An adjustable wrench
- Plumber’s Putty or Silicone Sealant
- Teflon tape
- A bucket and towel for catching water
How to Install a Faucet – Step by Step
1. Turn Off the Water Supply
Before removing the old faucet, shut off the water valves under the sink. Open the faucet to release any pressure and drain leftover water.
2. Remove the Old Faucet
Disconnect the supply lines with your wrench, then unscrew the mounting nuts holding the faucet in place. Lift out the old fixture.
3. Prepare the Surface
Clean the sink area and remove old putty or residue. This ensures a tight seal for your new faucet.
4. Position of the New Faucet
Place the new fixture through the mounting holes. Use the included gasket or apply plumber’s putty at the base to prevent leaks.
5. Secure the Faucet
From underneath the sink, tighten the mounting nuts by hand, then use a wrench for a snug (but not overly tight) fit.
6. Connect Water Supply Lines
Attach the hot and cold-water supply lines, wrapping the threads with Teflon tape to ensure a secure seal.
7. Test the Faucet
Turn on the water supply and check for leaks. Run both hot and cold water to ensure everything works smoothly.
Installing a Kitchen Faucet vs. Bathroom Faucet Installation
- Installing a kitchen faucet often requires handling additional features like sprayers, pull-down spouts, or built-in filtration systems. The process may involve more connections, but the basics remain the same.
- Bathroom faucet installation is usually simpler, especially with single-handle or widespread sink faucets. Since bathroom sinks are smaller, working in tight spaces may be the biggest challenge.
When Faucet Replacement Requires a Pro
While faucet replacement is usually straightforward, there are times when it’s better to call a professional plumber:
- Old or corroded pipes that break during removal
- Hard-to-reach connections in small vanities
- Major leaks discovered during the project
- If you’re upgrading to a high-tech touchless faucet with electrical components
Final Thoughts
Whether you’re interested in DIY faucet installation or considering hiring a plumber, knowing the basics of how to install a faucet helps you make the right choice. For many homeowners, replacing an outdated fixture is a satisfying project that instantly updates the look and functionality of their space. But when in doubt—especially with complex kitchen or bathroom faucet installation—a professional can ensure your faucet replacement is leak-free and long-lasting.