
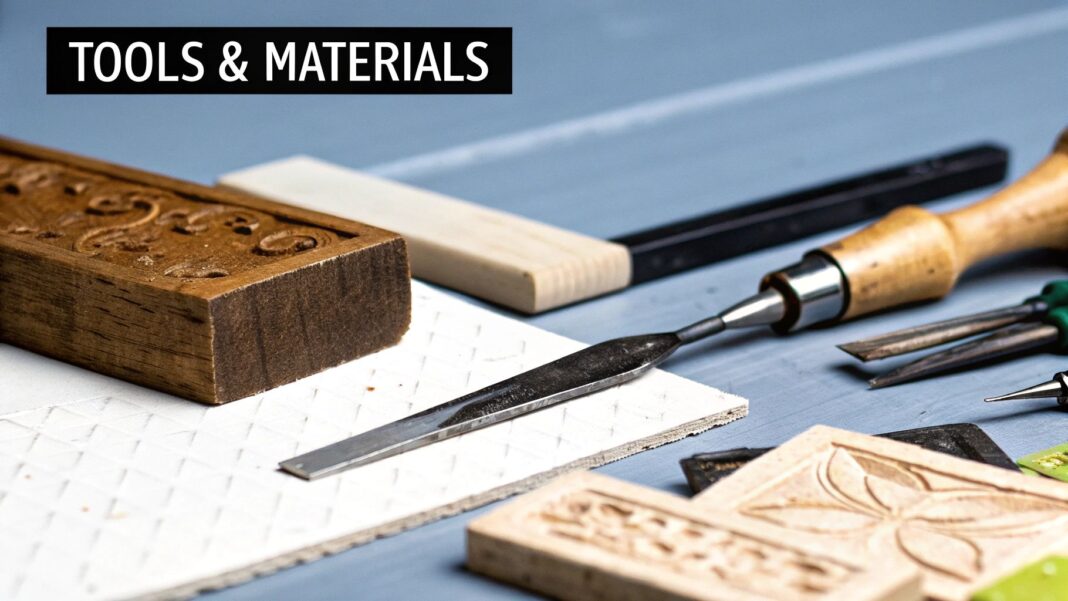

Dedicated workshops ignite passion for woodworking, transforming raw lumber into heirlooms that span generations. These sanctuaries blend functionality with inspiration, housing tools that enable precise cuts and finishes while fostering creative flow. Whether carving intricate dovetails or assembling sturdy frames, a well-equipped space elevates hobbyists to artisans. Let’s review how to navigate the essentials from foundational setups to enduring techniques, equipping builders with knowledge to craft legacies of wood and skill.
Selecting Essential Power Tools
Power tools form the backbone of any workshop, accelerating tasks while ensuring safety and accuracy. Begin with a table saw for ripping boards to width, its fence guiding straight lines essential for tabletops or cabinetry. Complement with a miter saw for angled crosscuts, ideal for framing moldings or picture rails.
A router unlocks profiling edges and joinery, from chamfers to mortises that interlock seamlessly. Drills and sanders round out the core, powering pilot holes and smooth surfaces ready for stain. Invest in quality over quantity – durable motors outlast bargain models, reducing frustration from jams or burnout. Dust collection attachments mitigate airborne particles, preserving lung health during long sessions. Storage solutions like rolling carts keep tools accessible, minimizing search time. This curated arsenal, assembled thoughtfully, empowers projects from birdhouses to benches with professional results.
Mastering Basic Joinery Techniques
Joinery binds wood beauty to structural integrity; techniques honed through practice, yielding invisible strength. Butt joints suit simple assemblies, reinforced with glue and clamps for edge-to-edge bonds. For added hold, biscuits expand these connections; slotted wafers swelling with adhesive to align and fortify.
Dovetails offer timeless elegance, interlocking pins and tails resisting pull forces in drawers or boxes. Mortise-and-tenon pairs excel in furniture’s legs; the tenon pegged for permanence. Practice scrap pine, marking layouts with pencils before chiseling clean fits. Jigs streamline repetition, guiding router bits for consistent depths. Sand joints flush post-assembly, erasing evidence of labor. These methods, layered with patience, create pieces that withstand daily use and heirloom handling.
Read more: How a New Roof Can Pay for Itself Faster Than You Think
Preparing the Workshop Space
A cluttered area stifles inspiration, so don’t be afraid to clean up! Clearing old lumber stacks and rusty hardware demands decisive action, as accumulated scraps pose trip hazards and harbor pests. Piles of warped plywood, bent nails, and discarded prototypes accumulate over the years, blocking expansion. Renting an roll-off dumpster address this bulk efficiently, delivered to the driveway for straightforward loading. Sizes from 10 to 20 cubic yards swallow irregular loads like splintered offcuts and metal odds without compaction hassles. Sort recyclables on-site – wood for mulch, metals for scrap – before filling capacity. Haulers coordinate pickups around schedules, often recycling sorted materials to lower costs. This step reclaims square footage, establishing a hazard-free haven where ideas flourish unhindered.
Finishing Projects with Flair
Finishes both protect and enhance wood. Sand from coarse to fine and clean between steps for good adhesion. Oils give a natural sheen; polyurethanes add durable gloss. Waxes buff to a satin look, especially for antiques. Always test finishes on hidden areas and apply thin coats to prevent runs. Allow proper drying time, ventilate well, and sand lightly between layers. Install hardware carefully for precise alignment – these details combine practicality with style. Regular practice and upkeep improve craftsmanship and workspace over time.
Apart from that if you want to know about Garage Construction Cost then please visit our Home Improvement Category.